Stone fire ring
Skill Level: Beginner | Estimated Time: 1/2 day
Tim Layton, Expert Blogger:
The one thing I love the most about the cooler months of the year is fire. As far as I’m concerned, a nice fire is one of the most relaxing, therapeutic, and enjoyable benefits of a little (or a lot) of nip in the air. I can sit next to a glowing, crackling real-wood fire for hours; fully entertained by the occasional opportunity to stoke the flames or rearrange the logs.
But what about an outdoor fire? Everybody loves those and nothing else compares when it comes to extending the usability of your outdoor living spaces well into the fringes of winter. If you live somewhere warm like me, a nice outdoor fire can make your backyard a happy place all winter long.
Step by Step Instructions
Step 1. Choose Stones for Your Fire Ring
In Florida we often see stone from local quarry operations that has a visible component of shells, coral, or other fossil-like elements. This type of stone is very authentic to the area and is the kind of material often used in Native American structures and early settler dwellings. So I kind of had my eye out for something like that.
Lucky for me, the “Rip Rap” available at my local stone yard consisted heavily of this type of stone in random sizes. Rip Rap (riprap) is generally used for erosion control or protecting underwater structures and is sold in bulk, so it’s comparatively inexpensive. I was able to get about 500 pounds of stone, more than I needed, for less than $50.00.
It’s worth the time to go to the stone yard and hand pick the stones you want. You pay the same price per pound and get a better assortment of sizes and shapes suitable for building with.

Step 2. The One Must Have Tool (optional)
Before you start working with stone, be sure you have a great pair of work gloves. Trust me.
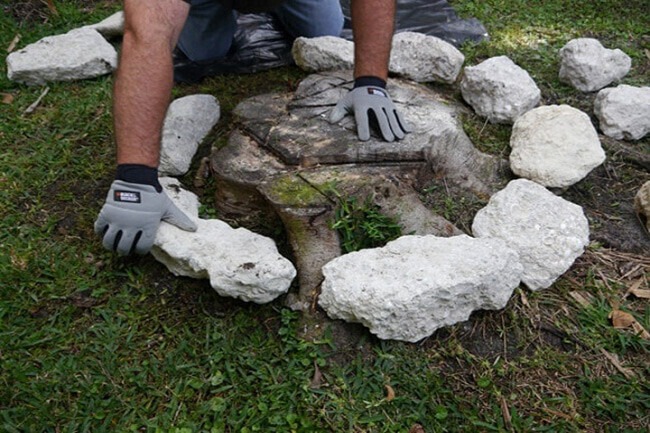
I wore the Hook + Loop Closure gloves from BLACK+DECKER, which worked out perfectly. Unlike many bulky work gloves, these gloves fit more like a nice pair of driving gloves, providing the dexterity I needed to be able to work concrete into the smaller spaces between the stones. Yet, they were more than tough enough to protect my hands from the rough edges of the stones and the Portland cement in the concrete, which can be a skin irritant.
This project doesn’t require much in the way of tools, but it does require a good pair of gloves.
Step 3. Build Your Fire Ring - Dry Run
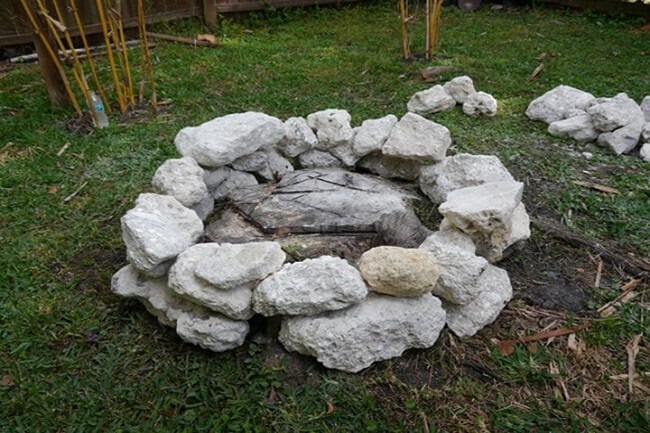
Once all the stone was carried to the work area we did a “dry run”. You basically build your ring, which is just a circular stone wall, without using any concrete or mortar. This lets you decide which stones fit best where.
During this process you choose which stones will be best for foundation stones, which ones are best for filling odd gaps, which ones are most visually appealing to be placed prominently, and which ones are smooth on one side, to be used on the top row (a great place to prop your feet up or place a warm cup of coffee).
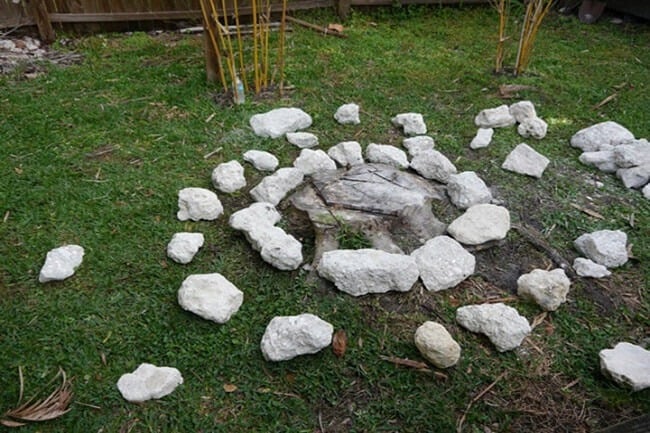
Step 4. Unstack Stones
Unstack your “Dry Run” assembly in concentric circles—top row furthest out, second row one step in from that, etc. This way you can reassemble with concrete and get roughly the same arrangement in your finished work.
Step 5. Prepare Concrete Mix
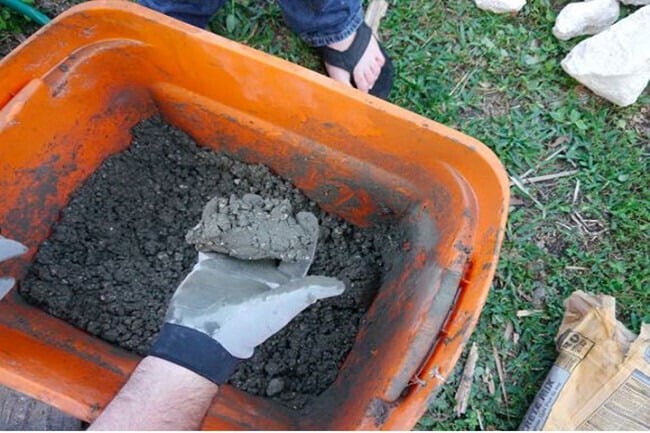
In order to make the concrete workable, I mixed it to a drier consistency than normal, almost like mud. When I could grab a handful of concrete and make a mudball out of it that would hold its shape, I stopped adding water.
Step 6. Reassemble Stones With Concrete
I then reassembled the whole thing while setting the stones in concrete, using standard concrete mix with small gravel in the mix. The mix with gravel in it (concrete mix) is much stronger than the mix without (mortar mix), but it’s not as easy to get into every nook and cranny.
In order to make the concrete workable, I mixed it to a drier consistency than normal, almost like mud. When I could grab a handful of concrete and make a mudball out of it that would hold its shape, I stopped adding water.
I jammed concrete all along the interior of the circle, fully supporting any open edges under the stones and filling all the spaces between them.
Then just start stacking. Use the natural shapes of the stones to arrange them so that they “lock” together with each other. Your structure should easily and firmly stay in place with no concrete. Then pack concrete into the gaps and joints to fully lock the assembly.

Step 7. Fill Small Gaps
Go back with a tube-based mortar repair adhesive to fill the gaps too small to fill with your concrete mix (it’s okay to leave some openings unfilled so long as the structure is fully supported).

Step 8. Relax and Enjoy!
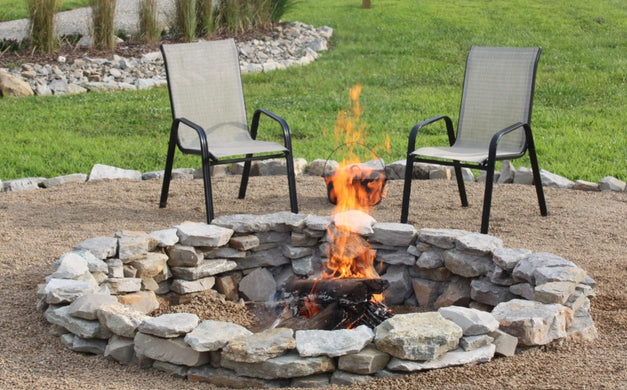
Later on that same day, we were enjoying a beautiful fire under the starry Gulf of Mexico sky. It was awesome and well worth the half-day and $75.00 investment.
