How to hang pictures

Skill Level: Beginner | Estimated Time: 30 mins
If you've ever made six holes in a wall to hang one picture, you know how frustrating the process can be.
Most of us have done it, and none of us want to repeat the experience. Great news! By following the steps outlined here and using the right hardware, you can hang a picture without making a single unnecessary hole.
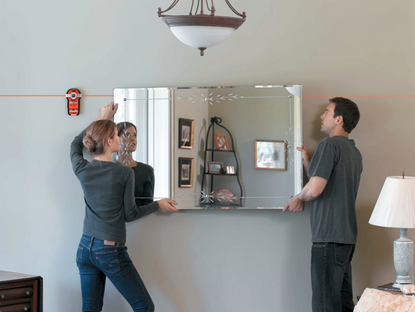
Before getting out your tools, study the size and shape of the room. Designers and decorators often suggest placing the center of a picture or mirror at eye level—57 to 60 inches above the floor—but that’s a guideline, not a hard and fast rule. If you’re placing a mirror behind a sideboard or a picture over a mantle, let the style of the room and a sense of balance guide its placement.
Step by Step Instructions
Step 1. Mark 8” Down On Each Side of Frame
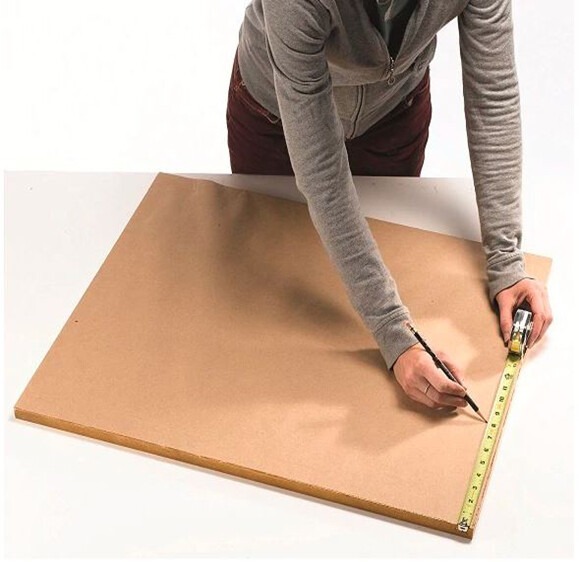
On each side of the frame, mark 8” down from the top. Purchase D-rings or picture hooks rated to support the approximate weight of the picture or mirror (package labels on the hardware give the suggested weight ranges).
Step 2. Use an Awl to Punch a Hole at Each Mark
Set the D-rings aside, and then use an awl to punch a hole at each mark on the frame. Reposition the first D-ring and drive a screw into the mark, securely attaching the D-ring to the frame. Repeat on the other side.
Step 3. Use a Stud Finder to Locate Studs
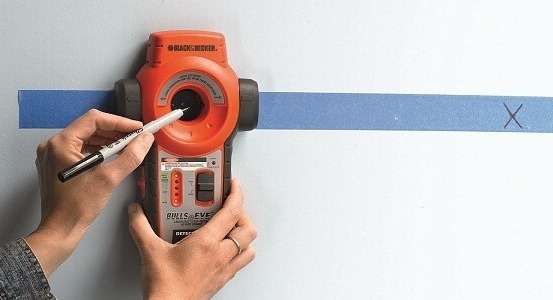
In the area where you want to hang the frame, place a piece of tape at the appropriate height, measured from the floor (usually 57 to 60”, depending on the room’s dimensions). Following manufacturer’s directions, use a stud finder to locate the studs and mark the tape to indicate their positions.
Step 4. Measure + Mark Proposed Center of Frame
Measure the width of the frame and divide that number by 2 — this is the center of your frame. On the tape, mark the proposed center of the frame, and then mark the edge of the frame the calculated distance on each side. If possible, align the frame so that the three points are near your stud marks.
Step 5. Measure 8” Down From Frame for D-Ring Placement
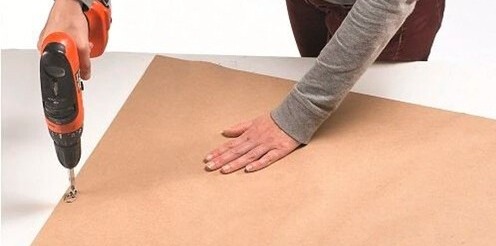
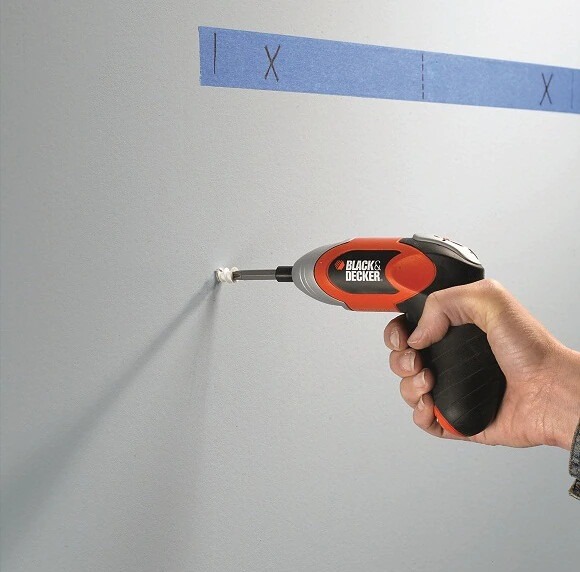
Measure down 8” from the frame side marks for the D-ring placement. If studs are not available, drive self-tapping hollow wall anchors into the holes (as shown), and then drill a screw into each anchor. If studs are available, drill wood screws directly into the studs.
Step 6. Slip D-Rings/Picture Hooks Over Screws
Slip the D-rings or picture hooks over the screws on the wall. Your picture should now be straight and secure with nary an extra hole to repair.

Step 7. Apply Silicone Caulk to Prevent Marking Walls (optional)
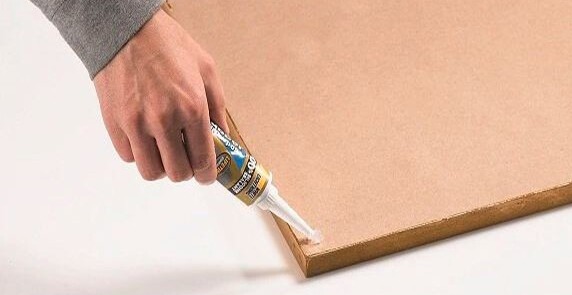
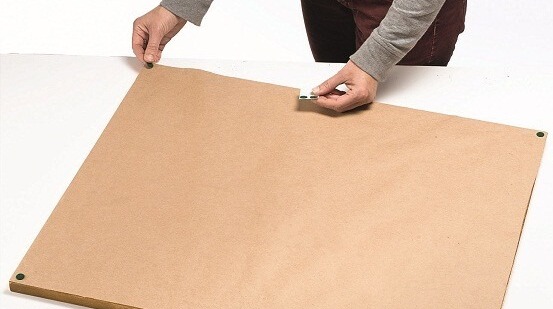
Putting a felt pad at each corner of a frame helps it hang straight and keeps it from marking the walls. If you don’t have any on hand, don’t despair: silicone caulk will do the trick quite nicely. Put a dot of caulk (about the diameter of a pencil eraser) on each corner. As soon as the caulk dries, you’re good to go.


