Floating shelves
Skill Level: Intermediate
Floating shelves are simple enough in their construction to be completed by a novice, but they look expensive after some sanding and staining. The depth of your shelf can be easily customized depending on your storage needs. The shelf includes a finished shelf box that slips over a mounting frame, which is screwed into drywall anchors or wall studs. The frame is completely concealed so the shelves appear to float next to the wall.
Step 1. Cut the Shelf Parts
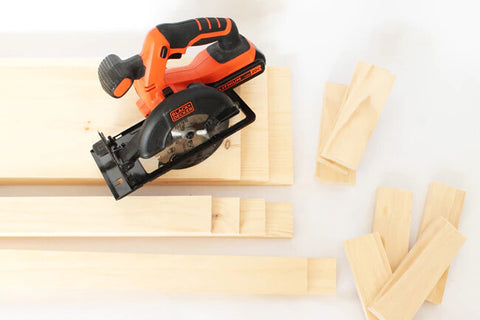
Cut the following pieces for the floating shelves and mounting frames, using your BLACK+DECKER 20V MAX* 5-1/2 in. Circular Saw:
- (4) 36" long pieces of 1 x 10 pine for the top and bottom of the floating shelves
- (2) 36" long pieces of 1 x 3 pine for the sides of the floating shelves
- (4) 8 ½" long pieces of 1 x 3 pine for the ends of the floating shelves
- (6) 7" long pieces of 1 x 3 pine for the mounting frame struts
- (4) 34" long pieces of 1 x 3 pine for the front and back of the mounting frame
Note: If your 1 x 3 boards are thicker than ¾", cut the shelf ends and frame struts shorter as needed.
Step 2. Assemble the Shelf Tops, Sides, and Ends
Place a 914mm-long shelf side piece under one of the 25x254mm shelf tops. The front face of the side piece should be flush with the front edge of the shelf top and the pieces should be square at both ends. Using your drill driver, drill pilot holes with a 210mm drill bit to help prevent splitting the wood. Secure the top to the side piece with 38mm wood screws, driving one at each end and one in the middle. Fit a 210mm end piece at each end so all edges are flush. Drill pilot holes and secure the ends with screws driven through the top of the shelf and into the end pieces. Add one more screw at each bottom corner joint. Repeat the same process to assemble the other shelf.
Step 3. Attach the Bottom Shelf Pieces
Flip each shelf over with the open side facing up and place a 25x254mm bottom piece on top of the assembly to create a box. Adjust until all edges are flush, drill pilot holes, and secure the bottom with five wood screws, one in each corner and one centered along the front edge.
Step 4. Sand the Shelves Smooth
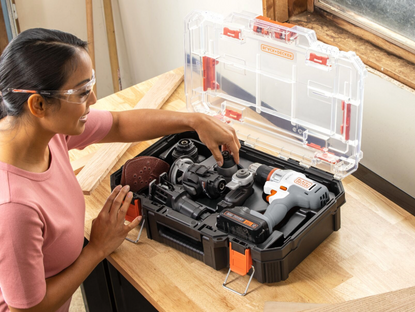
Fill all of the screw holes with wood filler, using a knife, and let the filler dry as directed. Use the Mouse® Detail Sander to sand all edges and faces of the shelves smooth. Use sandpaper to grind down uneven edges and rough surfaces. Remove all sanding dust with a clean cloth.
Step 5. Finish the Shelves
Apply stain to each shelf with a paintbrush. Wipe off excess stain with a rag, moving in the direction of the wood grain. After the stain has dried overnight, apply a few coats of varnish to seal the wood (following the manufacturer's directions). Multiple coats will make the surface smoother to the touch and easier to clean.
Step 6. Create the Mounting Frame
Each frame is made up of two 867mm pieces of 25x76mm for the front and back of the frame, and three 178mm pieces for struts at each end and in the center. Place struts inside the front and back pieces to form a rectangle with square (90-degree) corners. Drill pilot holes and drive 38mm screws into the top and bottom of each joint.
Step 7. Install the Mounting Frames
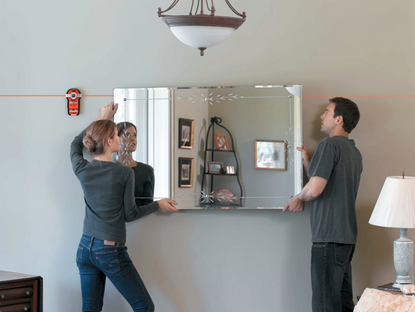
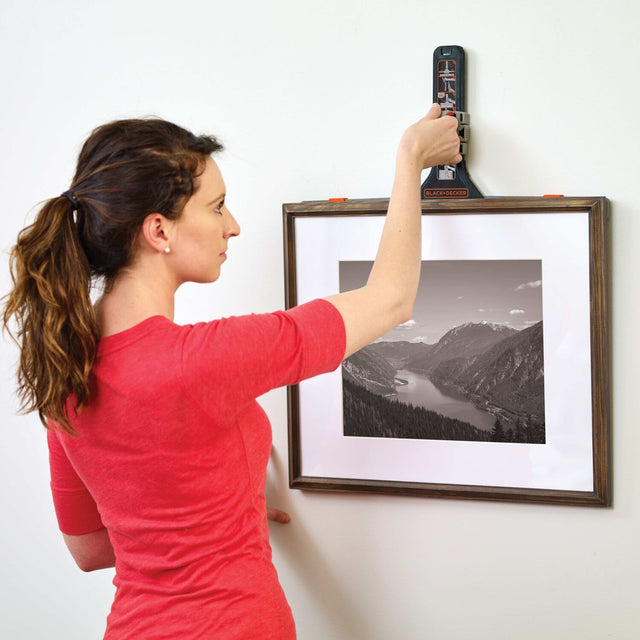
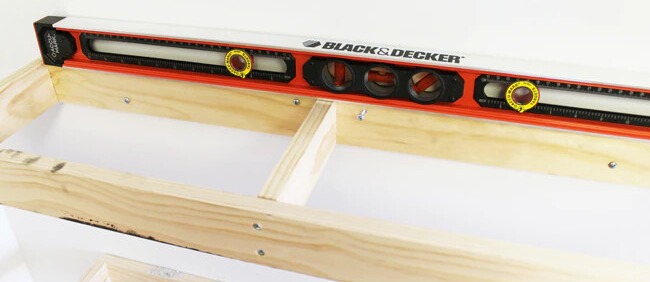
Drill four holes along the back of each mounting frame and have a partner hold the frame to the wall at your desired height. Use the level to ensure your frame is level, and then mark through the drilled holes in the mounting frame with a pencil or screw to indicate placement for drywall anchors. Install four anchors as directed by the manufacturer. Mount the frame by driving 51mm screws through the holes in the frame and into the drywall anchors. The frame shouldn't move and should be flush with the wall for maximum support.
Note: Drywall anchors are suitable for shelves that will only hold lightweight items. If your shelves will support a lot of books or other heavy items, mount the frames using 76mm screws driven into at least two wall studs.
Step 8. Add the Finished Shelf Boxes
Slide each finished floating shelf over its mounting frame until it’s flush with the wall. Secure it in place by driving two 38mm screws through the bottom of the shelf and into the frame in each corner.

Step 9. Add Decor
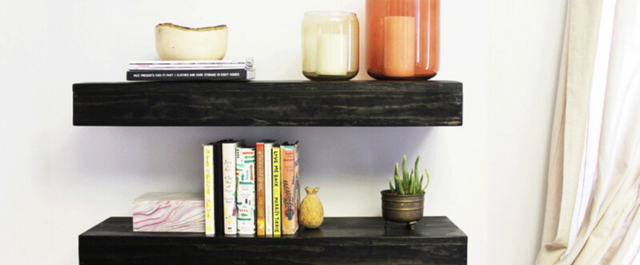
Style the shelves with your favorite books and decor.

