DIY charging station
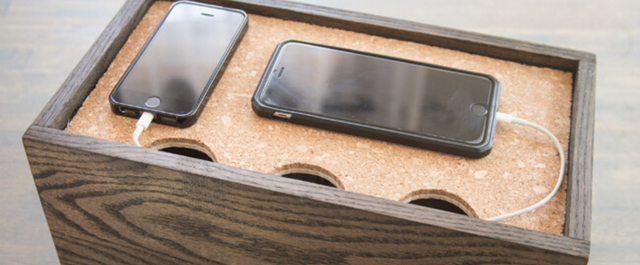
Skill Level: Beginner | Estimated Time: 3 hours + dry time
Keep your electronic gadgets and cords in one place with an easy-to-build charging dock, which can hold three to four phones or even a few small tablets.
The top conveniently lifts out for easy access to a standard, 2 x 10” power strip concealed below.
Things You’ll Need

Step by Step Instructions
Step 1. Cut the Box Pieces
Mark the box pieces to length with a tape measure and a square to ensure straight cutting lines. Use the BLACK+DECKER 4.5 Amp Jigsaw to make the cuts:
- (2) pieces of mahogany board, 14” long for the front and back of the box
- (2) pieces of mahogany board, 7” long for the sides of the box
- (4) pieces of the 3/4” mahogany strip, 4” long for the corner blocks
- (1) piece of 7 x 13” plywood for the bottom
Tip: Clamp the mahogany to a work surface for accurate cuts.
Step 2. Drill a Hole for the Power Strip
Drill a hole, 1” diagonally from one bottom corner of one of the 7” long pieces of mahogany for the power strip plug to run through. Use the BLACK+DECKER 12V MAX* Cordless Lithium Drill/Driver with a 1” spade bit to drill the hole.

Tip: Most power strips have the cord emerging from one end. Depending on what type of power strip you use, you can drill the hole through the back piece of the box, if desired.
Step 3. Drill Pilot Holes
Use the 12V MAX* Cordless Lithium Drill/Driver and a 1/8” drill bit to drill pilot holes 3/8” above the bottom edge and spaced 4” apart, along the bottom of all four pieces of mahogany board.
Tip: Depending on what type of screw you're using, pilot holes should be just slightly smaller than the screw. The idea is to allow the hole to be big enough for the screw to pass through without splitting the wood, but at the same time, small enough so that the threads grip firmly.
Step 4. Assemble the Box
Apply wood glue to all four edges of the 7 x 13” plywood bottom piece and place it on a flat surface. Center the 14” front and back pieces of mahogany against the sides of the plywood. Then slip the box sides flush between the front and back pieces.
Use the 12V* MAX Cordless Lithium Drill/Driver to drive 1” screws through the pilot holes to secure the box pieces to the plywood.
Step 5. Fit the Corner Blocks
Apply wood glue to two sides of all four 3/4” corner blocks. Fit the blocks into the corners, one at a time, so they're standing up and flush against the plywood bottom.
Using your fingers, apply pressure to each block for about 3 minutes or until the glue gets tacky. Allow the glue to dry according to the manufacturer’s recommended dry time.
Step 6. Cut the Lift-Out Top
Measure the size of the opening inside the assembled box. Use the 4.5 Amp Jigsaw to cut the corkboard 1/4” smaller than the width and length of the opening. Use a drinking cup and a pencil to trace three evenly spaced semicircles along one long edge of the cork board.
Use the jigsaw to cut out the semicircles, creating access holes for your charging cords. Set the top panel aside.
Step 7. Sand the Box
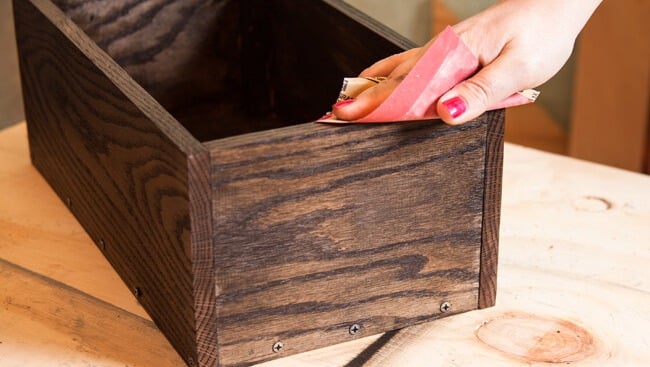
Sand the box parts smoothly with the BLACK+DECKER 1/4 Sheet Finishing Sander and 120-grit sandpaper. Round over all the corners and edges, as desired.
Step 8. Apply the Stain
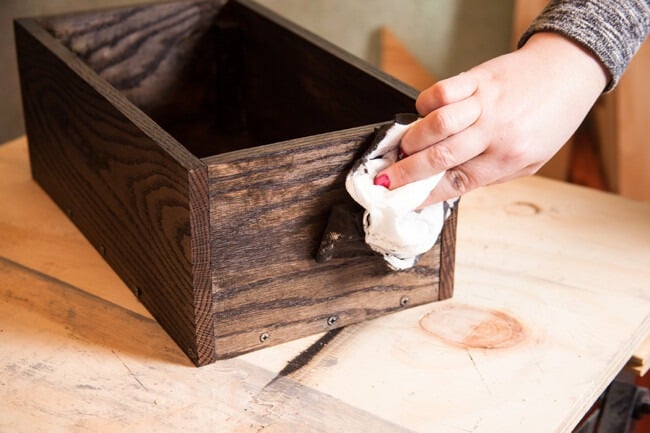
Apply your choice of water-based stain to the box with a soft cloth. Apply stain to the cork board, if desired. Allow the stain to dry as directed.
Step 9. Finish with Lacquer
Spray the box inside and out with a light coat of aerosol lacquer. Allow it to dry, referring to the manufacturer’s recommended dry time. Sand everything lightly by hand with 180-grit sandpaper, and then apply one more coat of lacquer. Allow the lacquer to dry as directed.
Step 10. Start Charging
Set a power strip into the bottom of the charging station box, feeding the strip's cord through the hole in the side of the box. Plug each device’s charging cord into the power strip, and then fit the cork panel into place, running the charging cords through the semicircles in the top. Plug the power strip into a grounded electrical outlet to get ready for charging.


