There's snow place like home
Skill Level: Beginner
Create your own custom holiday décor this season, and craft beautiful wood letters. Paint or stain these letters to incorporate them seamlessly with your existing décor, or spell out a seasonal message with mismatched letters for an eclectic look. You’ll need just a few items, including plywood and a jigsaw.
Step 1. Trace The Letters
Decide on a festive word and determine the size of your letters. Then, select your choice of thickness or "heaviness" for each letter. If your letters have thin sections, choose a thicker piece of plywood to avoid snapping your letter during cutting. Print out large letters in various fonts, and trace them with a sharp pencil to create an impression of the letter. Retrace the lines on the plywood with the pencil using a straight edge if needed.

Step 2. Cut Out Sanding
Clamp the 60x60cm plywood piece between two sawhorses or blocks. Using the slow curve setting on your Jigsaw, carefully follow your traced pencil lines to cut out your letters. You might have to rotate your piece of wood to cut in certain directions comfortably.

Warning: Remember to wear safety goggles to protect your eyes.
Step 3. Sand and Shape
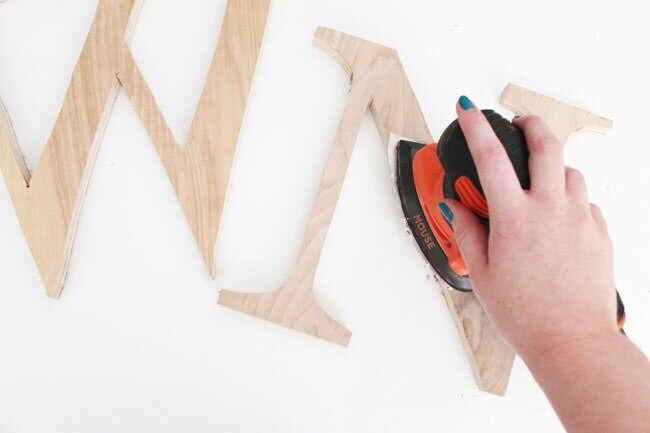
Eliminate any rough edges, bumps, and pencil lines on your letters with your sander. Use the attachment piece to sand the tight spaces and corners of the letters. If you'd prefer a more weathered look, round out the edges by putting more pressure on the edges of the plywood.
Step 4. Create A Layered Letter
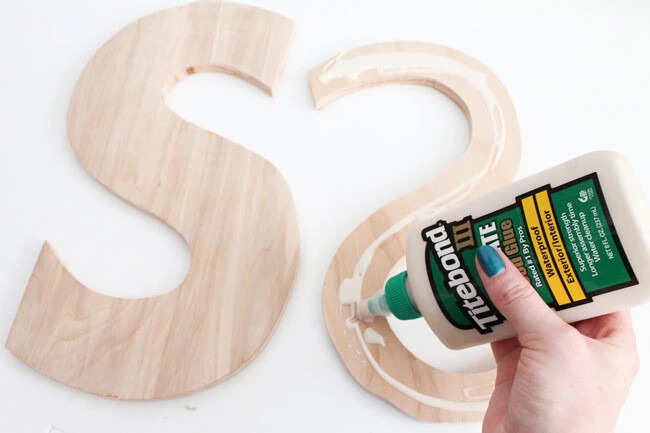
Break up the 2-D feel of your letters by scaling one letter down when printing and cutting a duplicate piece. Glue the scaled-down shape on top of the larger one with wood glue, and allow it to dry overnight before painting.
Step 5. Paint The Letters
Chalk paint is a quick and economical way to cover wood surfaces with just a few coats. Brush a layer over the surface and sides of your letters and let dry before assessing whether you need another coat. Drying can take up to an hour, depending on how much paint is used. Create a distressed look by strategically brushing over the letters with fine-grit sandpaper.

Tips:
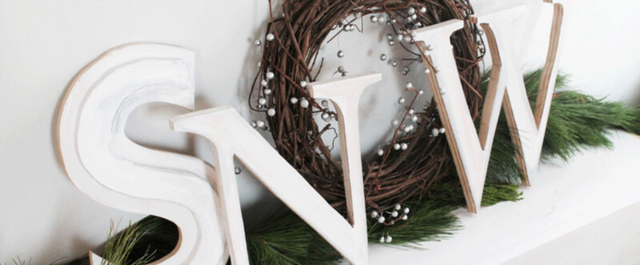
- Style the finished letters on your mantel or shelf by propping them up. Or, attach a small cube stand with a dot of wood glue.
- Use a rustic berry wreath to serve as a letter in your arrangement to tie in with your seasonal decor.
Step 6. Finish+Enjoy!


