Overhead pot rack
Skill Level: Intermediate | Estimated Time: 5 hours
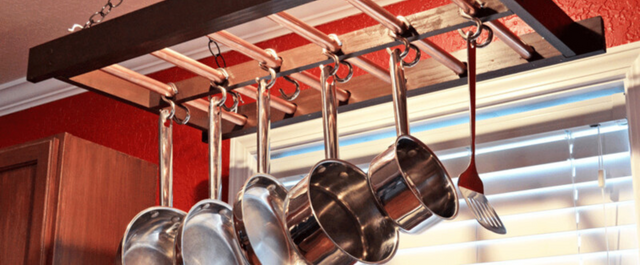
An overhead pot rack is a convenient way to keep your cooking equipment at the ready.
A kitchen pot rack is also ideal for showing off a beautiful set of copper pots or a collection of antique cookware. Even your everyday pots and utensils will look good hanging from a rack.
Gathering Materials
This simple rack uses standard building materials and can be completed in about four hours, not counting drying time for glue and wood finishes. Options for materials are fairly wide-open. The wood rails can be hardwood (such as oak or maple) or softwood (such as pine). If you’re painting your rack, use poplar. It’s more durable than pine and less expensive than other hardwoods. Use “clear” lumber without large knots, which create weak spots and are difficult to drill through. For the pipe rungs of the rack, rigid copper water pipe is smooth, attractive, and easy to work with. You can also use a metal “thin-wall” electrical conduit if you prefer its silver color.
Step by Step Instructions
Step 1. Plan the Rack Dimensions
Determine the desired size (length and width) of your rack based on your kitchen space and the number of pots you’d like to hang. The rack shown here is approximately 36 x 21". Plan the rung layout using even spacing between rungs and leaving a couple of inches between the outer rungs and the wood end rails.

Tip: Extend the long side rails beyond the end rails and make a decorative cut on the side rails.
Step 2. Cut the Wood Pieces
Cut the two side rails and two end rails to length from 1 x 3 lumber, using a BLACK+DECKER 20V MAX* 5-1/2 in. Circular Saw. Make the side rails equal to the overall length of the rack. Make the end rails 1 1/2" shorter than the overall width of the rack. Cut three rung supports from 1 x 2 lumber. These run parallel to the side rails and should fit snugly between the end rails when the rack is assembled.

Tip: Test-fit all of the cut wood parts by dry-assembling the rack (no glue or screws). If desired, shape the ends of the side rails by cutting a taper with a circular saw or cutting curved lines with a jigsaw.
Step 3. Prepare the Pipe Rungs
Cut the pipe rungs to length, using a BLACK+DECKER 8.5 Amp Reciprocating Saw. Make the rungs 1/8" shorter than the length of the 1 x 3 end pieces. Lightly sand the cut ends with 150-grit sandpaper to remove any burrs or sharp edges.

Tip: Polish the rungs with 000 or 0000 steel wool to shine them up. You can remove printed lettering with fine sandpaper, or simply position the rungs so the lettering isn’t visible from below when the rack is installed.
Step 4. Drill the Rung Holes
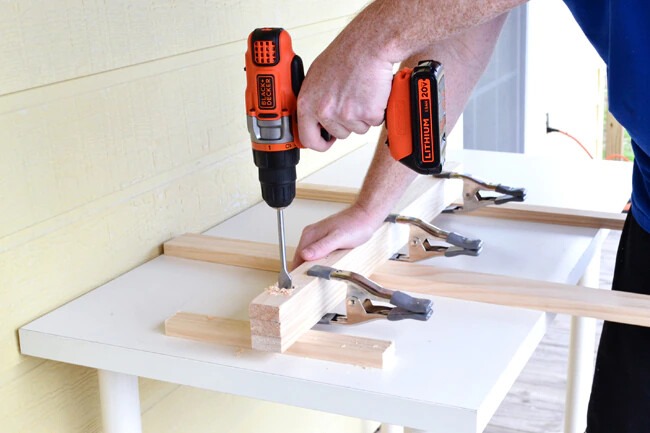
Mark the rung holes onto the face of one of the 1 x 2 rung supports. The holes should be spaced evenly and centered top-to-bottom on the rung support. Stack the three rungs supports together, with the marked piece on top, and place the stack facedown on top of a piece of scrap lumber, such as a flat 2 x 4 that runs the length of the stack. Make sure the support pieces are flush with one another, then clamp the stack securely to a work surface, using three clamps.
Drill each rung hole through the stack and partially into the scrap lumber, using a BLACK+DECKER 20V MAX* Lithium 2-Speed Drill/Driver and 3/4" spade bit. This setup helps ensure clean holes without splintering. Keep the drill bit perfectly vertical while drilling to produce straight holes.
Step 5. Sand the Wood Parts
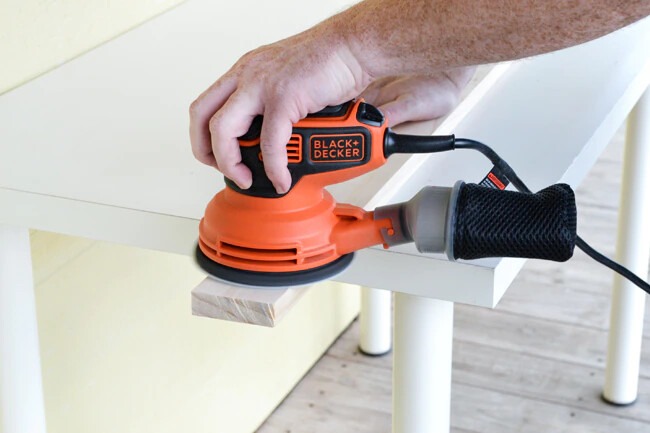
Sand all wood surfaces that will be exposed in the finished project using the BLACK+DECKER 5 in. Random Orbit Sander and 150-grit sandpaper. If desired, round over the edges along the sides of the pieces, using 80-grit, then 150-grit, sandpaper. Do not sand the ends of the pieces that will be joined at the rack’s corners. You want sharp edges here for tightly fitting joints.
Step 6. Attach the Outer Rung Supports
Glue a rung support to the inside face of each side rail, using wood glue and clamps. The supports should be centered end-to-end on the rails and flush with the rails’ bottom edges. Once the pieces are clamped, drill pilot holes and drive a few 1 1/4" finish nails through the inside faces of the rung supports and into the rails. Let the glue dry as directed before removing the clamps.
Step 7. Pre-finish the Wood Parts (optional)
If desired, you can paint or stain the wood parts before assembling the rack. This saves time and prevents you from having to tape off each rung to keep it free of paint. Do not finish the ends of the rung supports or end rails or the areas where these pieces will meet the side rails/end rails when the rack is assembled. These joints will be glued, and the glue needs bare wood for a strong bond.

Tip: Finish the rack with a clear finish, such as lacquer or polyurethane, or a penetrating oil or wax, to retain the wood’s natural coloring. It’s usually easiest to apply these finishes after the rack is assembled.
Step 8. Assemble the Rack
Insert all of the rungs through the holes in the center rung support, and then fit the side rails over the ends of the pipes. Position the end rails between the side rails so their inside faces are butted against the ends of the center rung support. Clamp the assembly with pipe clamps (if you have them), or have a helper hold each joint as you work.
Drill two evenly spaced pilot holes through the side rail and into the end of each end rail. Do the same where the end rails meet the center support. Disassemble the rack, then apply glue to the ends of the rung supports and end rails. Reassemble and clamp the rack, then secure each joint with 2 1/4" wood screws. Let the glue dry overnight.

Step 9. Touch Up the Finish
Fill the screw holes with wood putty if your rack is painted. Or, cover the holes with wood plugs or decorative wood buttons, glued in place, if you’re using a clear or oil/wax finish. Paint over the wood putty and touch up any other areas that need it. Apply a clear or oil/wax finish if you’re not painting the rack.
Step 10. Hang the Rack
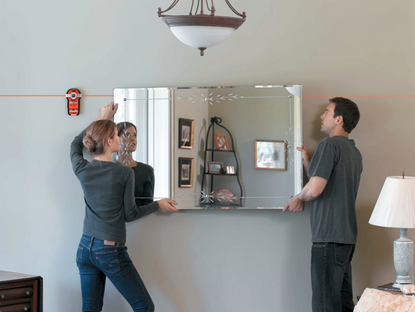
Locate the ceiling joists in the installation area, using a BLACK+DECKER BullsEye® Auto Leveling Laser with Stud Sensor, and mark the centers of the joists. You can also install the rack along a single joist that runs parallel to the length of the rack. Drill a pilot hole and install a heavy-duty screw hook into the joist for each end of the rack, using pliers. Install corresponding screw hooks into the top edges of the rack’s side rails (not the end rails), one hook for each corner.
Cut lengths of chain to hang the rack at the desired height, using a hacksaw or a rotary tool or multi-tool with a metal-cutting blade. Hang the rack by hooking the chains onto the screw hooks. Add S-hooks to the rungs for hanging your pots and utensils.

Tip: If you’re hanging the rack from two joists, you can use four chains and ceiling hooks instead of two, whichever look you prefer.
Warning: Always anchor the rack into ceiling joists or solid-lumber blocking installed between the joists. A ceiling finish alone will not support a rack, even if you use toggle bolts or other hollow-wall anchors.

