DIY wine cork board
Skill Level: Beginner | Estimated Time: 3 hours + dry time
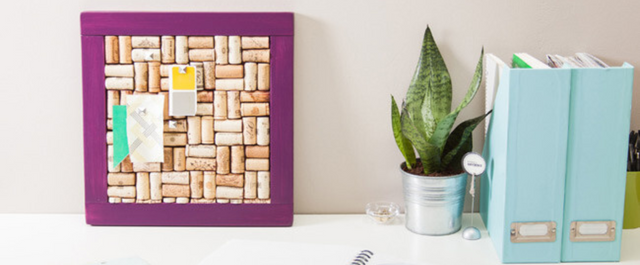
Instead of discarding your wine corks, assemble them into a bulletin board that’s both useful and stylish.
This 14” square board is about the right size to hang anywhere in your kitchen, study, or den.
Things You’ll Need

Step by Step Instructions
Step 1. Cut the Border Trim
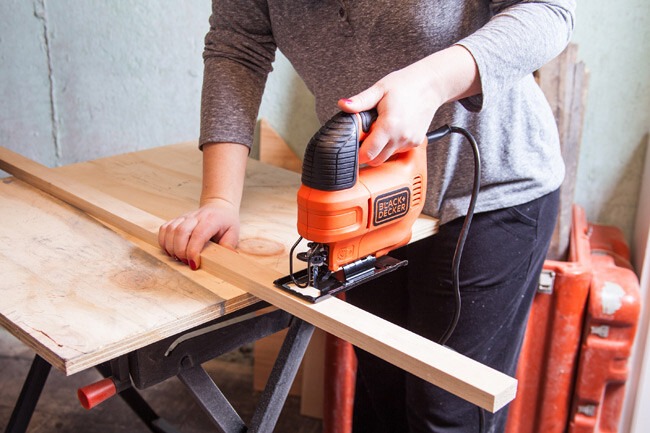
Use your BLACK+DECKER 4.5 Amp Jigsaw to cut the following pieces of 1 x 2 pine for the border trim of the bulletin board:
- (2) pieces, 11” long for the top and bottom
- (2) pieces, 14” long for the sides
Step 2. Sand the Trim
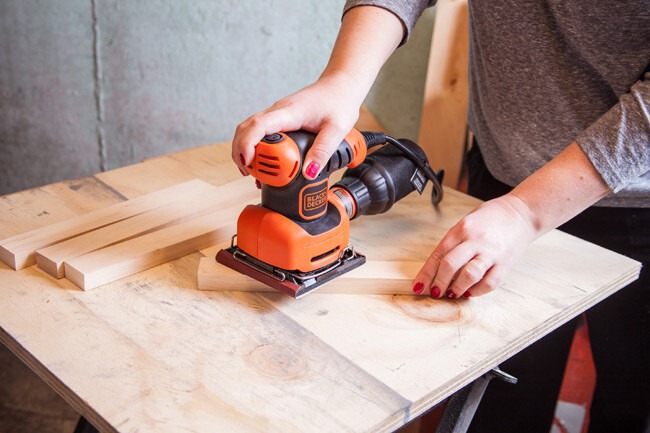
Sand the trim pieces smooth on one side, using your BLACK+DECKER 1/4 Sheet Finishing Sander and 100-grit sandpaper. Slightly round over the corners and edges on all pieces.
Step 3. Glue the Trim to the Plywood
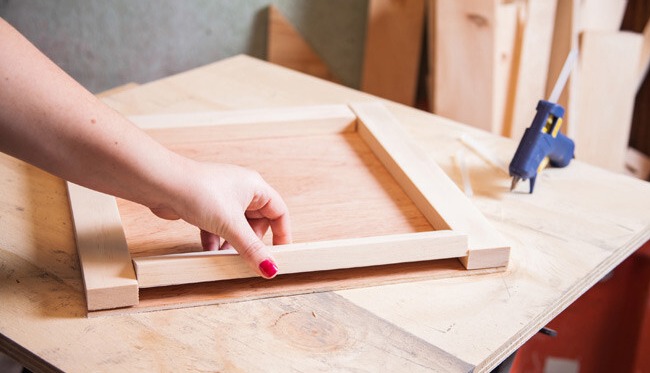
Apply hot glue to the trim pieces, one at a time. Assemble them flat on the plywood, flush with the plywood edges to form a border.
Step 4. Screw on the Trim
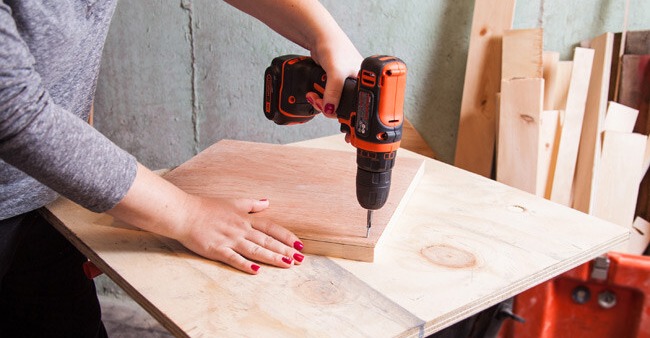
Place the board facedown so the plywood back is facing up. Use the BLACK+DECKER 12V MAX* Cordless Lithium Drill/Driver to drive eight 3/4” screws, evenly spaced, through the plywood to secure the trim.
Step 5. Paint the Trim
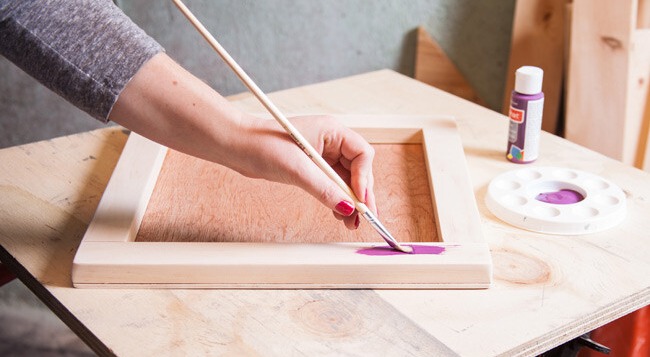
Use a small craft brush to paint the trim using any color of acrylic craft paint. One coat is fine, but two coats will add more depth. Acrylic craft paint is considered a water-based paint. Allow it to dry according to the manufacturer’s recommended dry time.
Step 6. Establish a Pattern
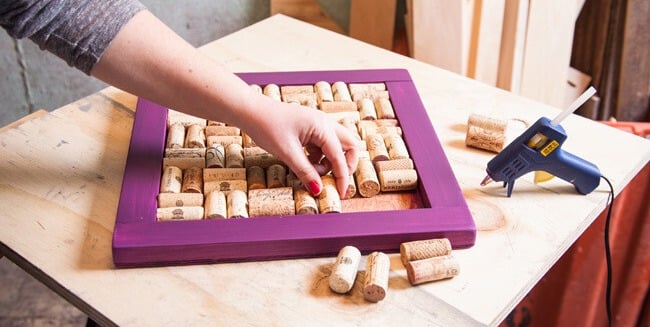
Select the corks for the board, arranging them by type, shape, size and/or color for continuity. Lay the corks on their sides onto the board. Experiment with different patterns and configurations to find the best arrangement.
Tips:
- Because corks vary in height, standing them on end would result in an uneven surface. Laying the corks on their sides and assembling them in patterns to create a surface that is flat and even.
- Most repetitive patterns are appealing whether diagonal, horizontal, vertical, or a combination of all three.
Step 7. Glue the Corks to the Board
Glue each cork to the plywood with hot glue, starting in the center and working toward the edges, following your pattern.
Step 8. Cut + Fit
Trim corks to fit along odd-shaped or skinny edges, using a serrated knife. Apply hot glue and fit them as needed to fill the remainder of the board.

Warning: Always wear protective gloves when trimming corks to avoid accidentally cutting yourself.
Step 9. Give it a Final Finish
Spray your cork board with a light coat of aerosol lacquer, which helps bring out the color and texture of the corks.


