DIY kitchen pegboard
Skill Level: Intermediate | Estimated Time: 3 hours + dry time
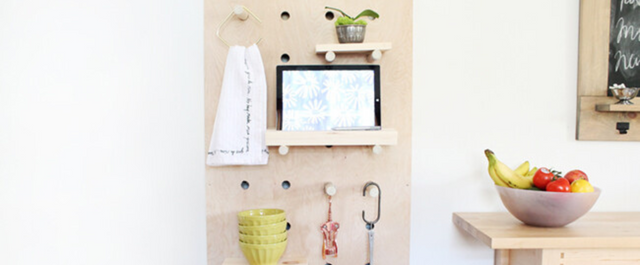
This attractive and functional pegboard unit holds kitchen tools, dishware, decorative objects, and a tablet.
It has a shallow 2 x 4' footprint that is perfect for apartments or tight floorplans and can convert an otherwise unoccupied wall into a convenient storage solution. Easily rearrange the jumbo pegs to hold rows of mugs or short shelves. You can even create a handy docking station for charging your tablet or phone by mounting your finished pegboard over an outlet to conceal the cords. This is an intermediate skill level project that requires precision and some difficult cuts but can be completed in an afternoon.
Things You’ll Need

Step by Step Instructions
Step 1. Cut the Pieces
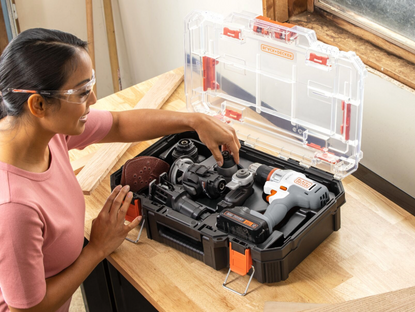
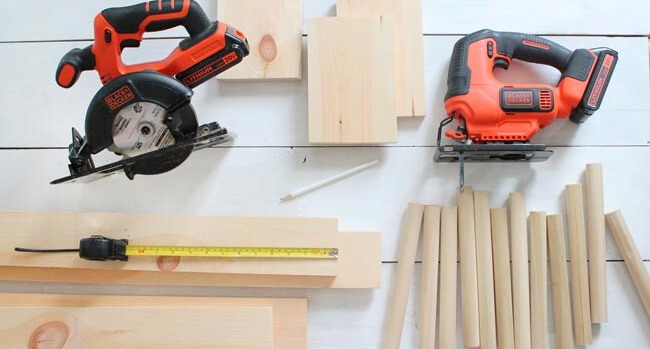
The BLACK+DECKER 20V MAX* Cordless Lithium Jigsaw is the perfect tool for cutting short lengths of dowels for pegs, while the lightweight BLACK+DECKER 20V MAX* 5-1/2 in. Circular Saw will aid in the straight and angled cuts for shelving and framing. You'll need the following pieces to construct your pegboard:
- (12) pieces of 1" wood dowels, 10" long for the pegboard pegs
- (2) pieces of 1 x 6 pine board, 8" for short shelves
- (1) piece of 1 x 6 pine board, 10" long for medium shelf
- (2) pieces of 1 x 6 pine board, 14" long for the tablet shelf
- (2) pieces of 1 x 4 pine board, 48" long for the sides of the pegboard frame
- (2) pieces of 1 x 4 pine board, 22-1/2" long for the top and bottom of the pegboard frame
- (1) piece of 2 x 4 pine board, 22" long for mounting cleat
Step 2. Lay Out Your Pegboard Grid
Place your 2 x 4 plywood sheet flat on your work surface. Use a carpenter's square and measuring tape to lay out evenly spaced horizontal lines 4-7/8" apart with the first line starting 5" down from the top edge to accommodate the 2 x 4 for mounting.
Mark the placement for peg holes along these guidelines every 4-7/8" with a pencil, establishing 9 rows of 4 holes each for a total of 36 possible peg positions.

Step 3. Cut a Hole for the Charging Shelf
If you want to use your pegboard as a charging station, it only takes a few quick cuts to conceal the cords. After marking all the pegboard holes, determine the appropriate placement for cutting a window to easily pass chargers or cords through the unit and to an outlet. Pencil in a 3 x 5 rectangle spaced evenly between two pegboard rows.
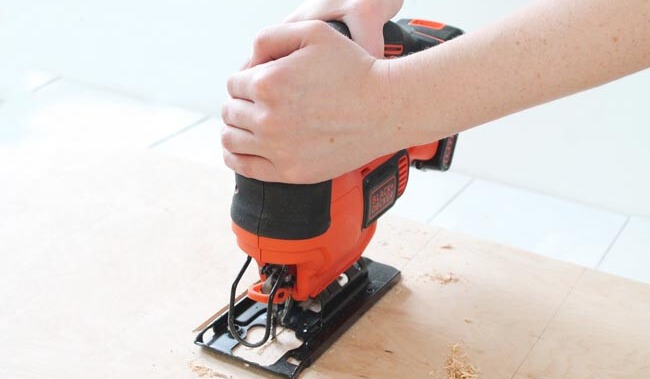
Drill a starter hole inside the rectangle, using your BLACK+DECKER SMARTECH™ 20V MAX* Lithium Drill/Driver and a 3/8" bit. Then, insert the blade of your 20V MAX* Cordless Lithium Jigsaw into the starter hole to complete the cutout. Use a blade for fine wood cuts, and guide the jigsaw slowly to minimize tear-out on the surface of the plywood.
Step 4. Cut the Pegboard Holes
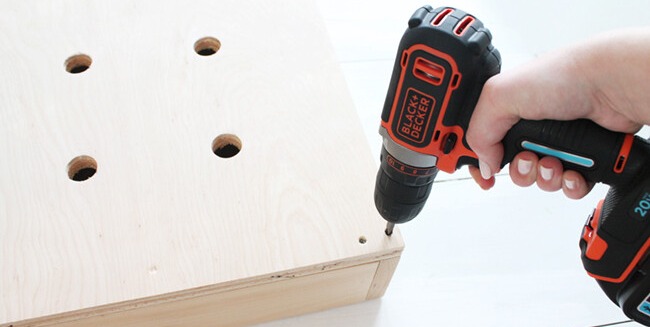
Use a 1" spade bit with your SMARTECH™ 20V MAX* Lithium Drill/Driver to bore out large holes at each peg mark along your horizontal guidelines.
Be sure you are holding the drill completely level and not drilling through at an angle (this will cause your pegs to slant and make them unable to hold shelves).

Step 5. Clamp Shelf Piece for Tablet Stand
Glue both pieces of 14" long 1 x 6 pine boards together with wood glue and clamp together to dry completely overnight. Ensure all edges are flush and wipe away any excess glue with a damp cloth or paper towel.

Step 6. Cut Tablet Shelf
After the glue has dried according to the manufacturer's recommended drying time, remove the clamps and pencil in a vertical guideline 1 1/2" from the lengthwise edge of the shelf.
Adjust the cut angle on your 20V MAX* 5-1/2 in. Circular Saw to 10 degrees and the cut-depth to 1". This will allow you to make a shallow and angled cut perfect for holding a slender tablet upright. You may need to make two to five cuts along your guideline to create a groove wide enough to hold a tablet (most range from 1/4" to 1/2" thick).
Be sure to measure yours first and adjust the width of the slot to accommodate your device.

Step 7. Sand the Pieces
Gather all of your pegboard pieces on your work surface along with your BLACK+DECKER 5 in. Random Orbit Sander and 120-grit sandpaper. Sand the shelves and each peg piece until they have softly rounded edges. Sand the surface of your pegboard to remove pencil guidelines and jagged edges from cutting.
The small pegboard holes may require some sanding by hand to ensure the interior edges are smooth. Wrap a piece of 120-grit sandpaper around a small dowel and twist inside the peg holes to grind down the rough edges. Be careful not to sand too much to avoid making the dowels fit too loosely.

Step 8. Frame In the Pegboard
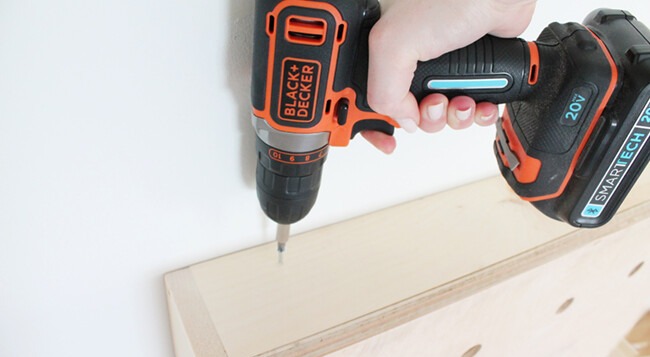
Frame in the pegboard with 1 x 4 pine boards to extend it from the wall, allowing pegs and cords to pass behind it without being visible. Place the two 48" long pieces of 1 x 4 underneath each lengthwise edge of the pegboard. Drill pilot holes with a 5/32" bit and secure the pieces on each end and in the center with three 1-1/2" wood screws.
Place the two 22-1/2" long pieces of 1 x 4 on either end with the edges flush with the plywood and corners square. Drill pilot holes, and secure the pieces on each end and bottom outside corner (driving through the long frame pieces and into the short frame pieces) with four wood screws.
Fill screw holes with wood putty and sand the edges of the entire unit to grind down any uneven joints. Brush away the dust residue with a damp cloth.
Depending on what type of screw you're using, pilot holes should be just slightly smaller than the screw.
The idea is to allow the hole to be big enough for the screw to pass through without splitting the wood, but at the same time, small enough so that the threads grip firmly.
Step 9. Mount the Pegboard
After determining the perfect placement for your pegboard, ideally over an outlet, secure the 22" long piece of 2 x 4 pine on its 3-1/2" face against the wall with four 3-1/2" wood screws (check your placement with a level before driving in the screws). The mounting cleat should be screwed into two wall studs to bear the weight of the shelving unit.
If there aren’t studs where you want to hang the unit, you can use heavy-duty wall anchors, such as toggle bolts, to anchor the unit. Place the unit over the 2 x 4 cleat so that it is hanging flush against the wall, and drive two 2-1/2" screws through the top frame piece of the pegboard and into the 2 x 4 on each end.
Step 10. Insert Pegs + Style Shelves
Arrange your shelf and peg placement, adjusting to your liking. Simply twist the pegs in and out of the peg holes to move them. Place your tablet on the grooved shelf to easily view recipes, watch tutorials or listen to music while you cook.
Use oversized C-hooks to hang smaller utensils or measuring spoons.


