DIY jewelry organizer
Skill Level: Intermediate | Estimated Time: 5 hours
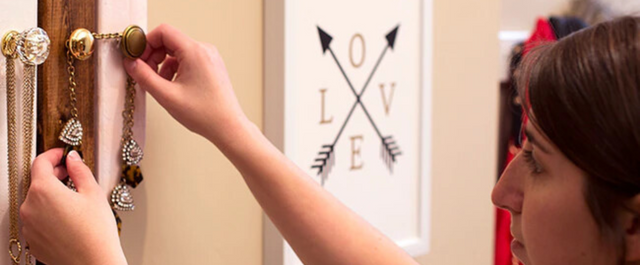
No more tangled necklaces! Build this functional and decorative jewelry organization unit to hang up in your bedroom, bathroom, or closet.
You can paint or stain the jewelry holder any color you want and hang it on any wall. It makes a great handmade gift for friends or for you! This project is easy and a very cute DIY addition to any jewelry lover’s space.
Step by Step Instructions
Step 1. Cut Wood to Size
Use your jigsaw to cut the 1 x 3” wood into six pieces, each 16" in length, and one at 14" (the shorter piece will be used as your back fastening piece).
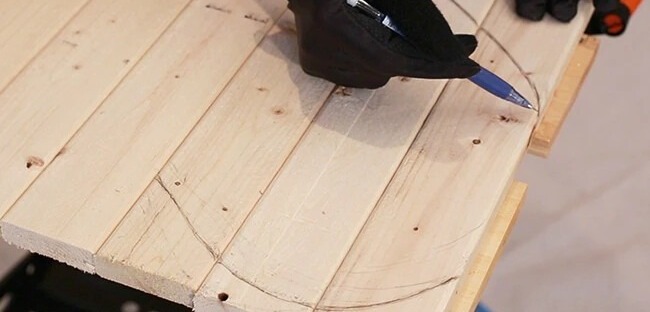
Step 2. Trace Half of Heart
Line up pieces of wood. Draw half of a heart into one side of the pieces, as seen in the image above. (After you cut the first three pieces you’ll flip them and trace them onto the remaining three pieces so that your project is symmetrical).
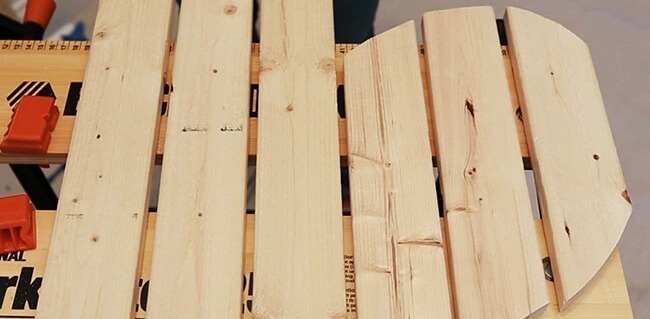
Step 3. Cut Tracings
Secure wood to work bench and cut tracings with the jigsaw. For smaller pieces, you may want to use clamps.
Step 4. Re-Trace + Cut
Flip the pieces you cut and trace them onto the remaining 16" slat of wood, and cut with the jigsaw.
Step 5. Sand All Pieces
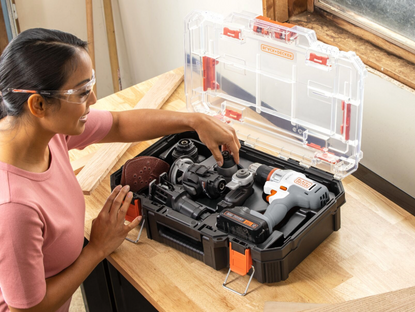
Using the BLACK+DECKER MOUSE® Detail Sander, sand all edges until they are soft and line up with each other.
Step 6. Drill Pilot Holes
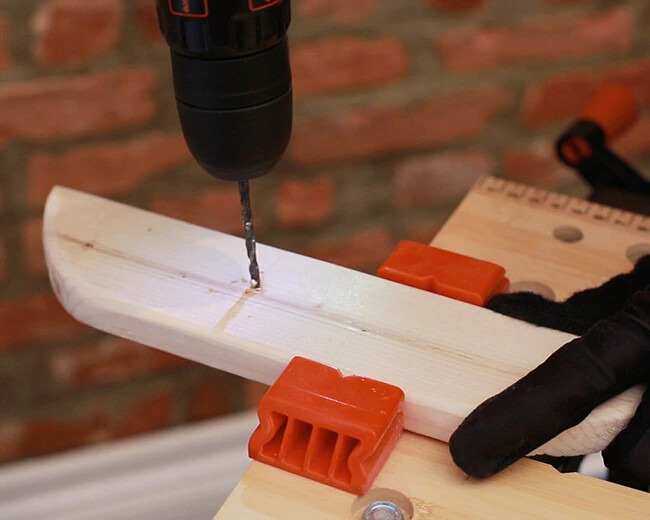
Using your BLACK+DECKER 12V MAX* Cordless Drill/Driver and a 1/8" drill bit, drill six pilot holes that are spread evenly apart in the 14" piece of wood. This is the piece you will use to connect the six vertical pieces.
Next, drill one pilot hold in each of the vertical pieces.
Step 7. Paint/Stain
Now that you have sanded and cut pilot holes in your heart, paint or stain the pieces any color that you want. We alternated between paint and stain.

Let dry! (Follow instructions on paint or stain bottle for an appropriate length of time).
Step 8. Fasten Back
Now that your pieces are dry, secure the 14" slat to the back of your painted vertical pieces using #8 screws and wood glue.
Step 9. Attach Knobs
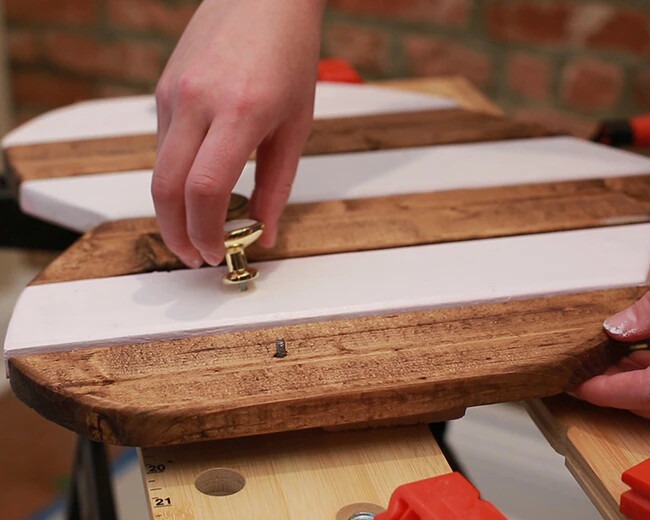
First drill pilot holes where you want your knobs to be. Then screw in knobs using hardware included in knob packaging.
Step 10. Attach D-rings
Attach D-rings to back of 14" wood using screws and hardware provided.
Step 11. Hang Up Your Jewelry Hanger!
Fasten screws into the wall and hang up your heart-shaped jewelry hanger!
Tip: Find studs using a stud finder. Screw into studs to ensure your jewelry is supported.

