DIY cutting boards
Skill Level: Beginner | Estimated Time: 2 hours
If you want to throw a good holiday party, a brimming charcuterie plate is a great place to start.
Cutting boards are classic, beautiful addition to any party setting and appetizer spread. They also make great gifts! In this article, we walk through the step-by-step of creating a DIY cutting board on the cheap.
Step by Step Instructions
Step 1. Cut Stencil
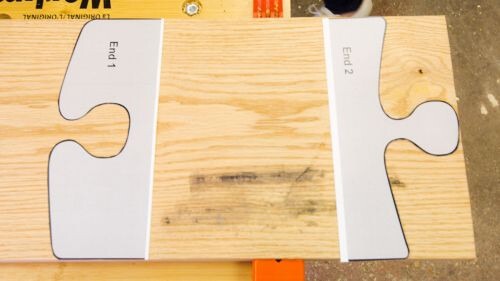
Cut out your stencil, space the two pieces apart on your board based on the length you want your board to be. We made ours 14 inches from tip to tip.
Step 2. Trace
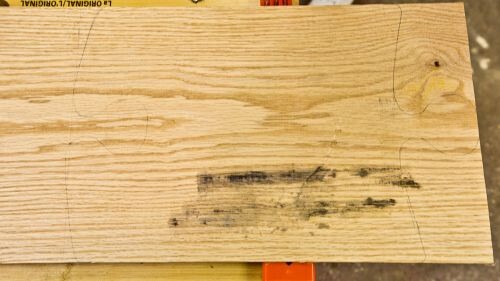
Trace your stencil. Hopeful you can see our tracing here. If your board has any gunk or unidentified residue like ours, don’t worry – it can be sanded off in later steps. Your pencil marks will also disappear with a little bit of sanding. Make your tracing dark enough to see, but don’t use a pen or it may seep deeper into the wood than can be sanded away.
Step 3. Use a Jigsaw to Cut Wood
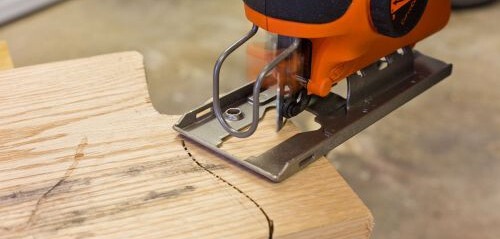
Time to plug in your Jigsaw. Pull the trigger before touching the jig blade to the wood. If the blade is already touching, you’ll realize immediately, because you’ll barely be able to cut into the wood and will experience a ton of vibration.
As you cut, always press down and ensure that the metal tray of the jigsaw is flush against the wood you are cutting. Press it HARD into the wood as you cut. This will greatly reduce vibration, lessen the impact on your hands and allow more precise cuts!
Step 4. Cut Curves of Board
Cut into the wood. Peer over the top of the jigsaw, watch the blade, and direct it. This particular jigsaw has a mechanism that blows away the sawdust as you work, which is extraordinarily handy for making precise cuts like these. Stay as close to the lines you’ve drawn as possible – but if you struggle with precision, bigger is always better because we can always sand down later. But don’t get carried away and cut too far outside the lines or you’ll be sanding forever!
Step 5. Cut Back End of the Board
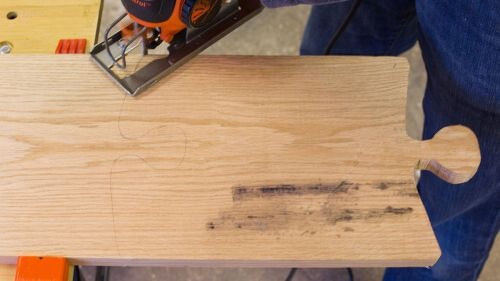
Cut the back end of the board. This can be challenging. If you are unable to achieve the curvature you need to cut out the concave knot of the board, you can always FIRST cut straight across the whole wood piece (the extra wood end will fall to the ground), and THEN cut the semi-circle out in a second attempt. Your puzzle pieces won’t fit together – but hey, it will still function as a cutting board and looks great!
Step 6. Sand Surface
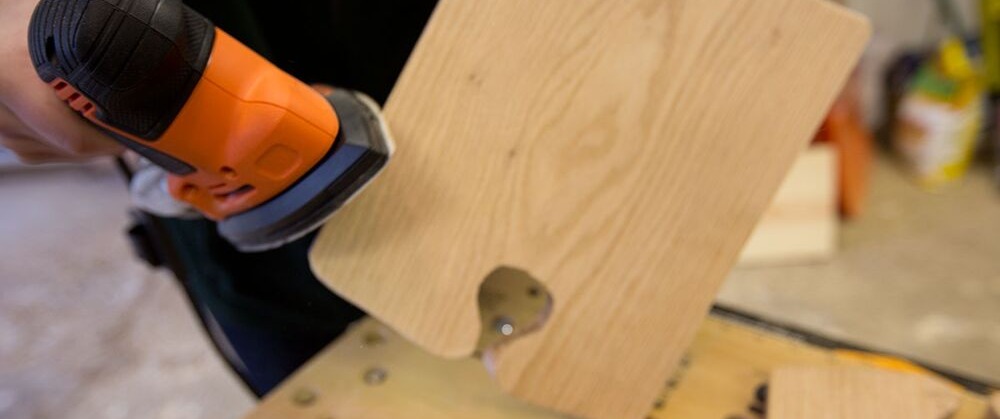
Sand the surface of the board for smoothness (random orbit sander recommended, we used a detailed mouse sander).
Step 7. Sand Corners + Edges
Sand the corners and edges of the board with a detailed mouse sander. You’ll want to sand until you achieve a store-bought smoothness!
Step 8. Sand Details
Sand the details. Even with a detailed sander, you may not be able to reach all the spall spaces with the sander… we used a combination of the mouse sander and 120 grit sandpaper for these small crevasses.
Step 9. Apply Food Safe Mineral Oil
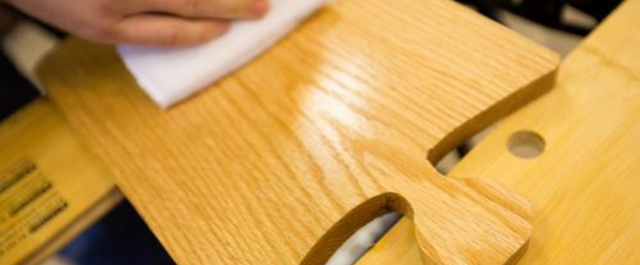
Follow instructions on the bottle of Food Safe Mineral Oil. You’ll want to douse it, rub it in with a cloth, and repeat it several times.

Step 10. Finished Product
Finished product! Enjoy. Serve appetizers to your guests. Have parties. And/or gift matching cutting board sets to friends!


