DIY bookshelf plans
Skill Level: Beginner | Estimated Time: 3 hours + dry time
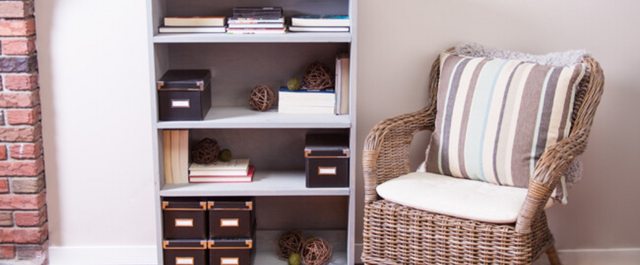
Building your own bookshelf is a good exercise in basic woodworking.
Plus, this project requires only simple tools and materials. You can complete a bookcase in one afternoon, not counting the drying time for the wood finish.
Shelf Proportions
You can make your bookshelf any size you’d like, but a standard size with even proportions is about 12 inches deep, 30 inches wide and 48 inches tall. That's big enough to hold books and magazines, but not so big that it won't fit where you want it to. Note: If your shelves are any longer than 32 inches, you'll need thicker lumber or midspan supports so the shelves won't sag when they're filled with books.
Tip: Bookcases with adjustable shelves are easier to build than fixed-shelf units. Plus, they offer much more storage flexibility.
Wood Type
Use 1x12 pine lumber for a rustic appearance. Nothing looks like pine with its large knots and swirls. And because you're using solid lumber, you can sand the edges smoothly for a finished appearance. Add 1/4-inch fir plywood back for strength and stability. Note that "1x12" is a nominal size. The actual size will be ¾-inch thick and 11 ¼-inches wide.
Step by Step Instructions
Step 1. Cut the Box Pieces
Put on safety glasses. Use a BLACK+DECKER 13 Amp Circular Saw with Laser to cut one of the 1 x 12 pine boards into two 47 1/4" pieces for the sides.
Using another 1 x 12, cut one piece 30" for the top, and one 28 1/2" for the bottom.

Step 2. Drill the Shelf Peg Holes
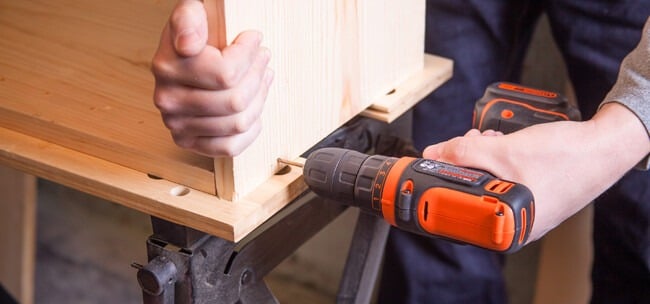
Drill holes, 2" apart vertically, 1 1/2" from the front and back, on the inside of both 47 1/4" side pieces.
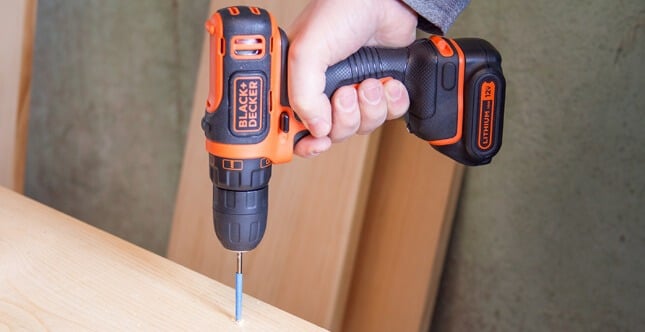
Use a BLACK+DECKER 12V MAX* Lithium Drill/Driver and 3/8" drill bit. Drill the holes 3/8" deep.
Tip: Wrap a piece of masking tape around the drill bit, 3/8" from the tip, to indicate the depth of the holes.
Step 3. Assemble the Box
Assemble the box for a test fit. Place the top piece flush on top of the side pieces.
Fit the 28 1/2" piece between the side pieces, 2" up from the bottom ends of the sides. This 2" gap gives the bookshelf the appearance of legs, and it keeps books off the floor.
Tip: Run the BLACK+DECKER 5.2 Amp 3 ¼ in. Planer over the pine boards for consistency before assembly, and to add a smooth surface to the lumber. Use the chamfering feature on the nose of the sander to create a stylish V-groove if desired.
Step 4. Pre-Drill the Box Joints
Mark and drill four pilot holes through each end of the top piece and into the side pieces.
Drill four holes each through the side pieces and into the 28 1/2" bottom piece. Use the Lithium Drill/Driver and 1/8" bit to drill the holes.
Step 5. Glue + Assemble the Box
Take the box apart and apply wood glue to all the contact points.
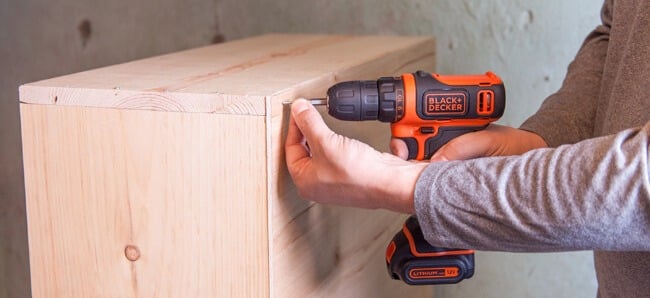
Reassemble the box. Insert 2" screws in the holes and drive them in with the Lithium Drill/Driver to finish the box assembly.
Let the glue dry as directed.
Step 6. Install the Back
Apply wood glue around the perimeter of the box. Fit the 1/4 x 30 x 48" plywood back on the box, flush with the edges.
Use the Lithium Drill/Driver to drive 1" screws, 4" apart, 3/8" from the edge, around the perimeter of the box.

Tip: Use a carpenter's square to square the box before adding the glue to the back. Use the square while screwing the box together for a better fit if needed.
Step 7. Install Stretchers
Use the 13 Amp Circular Saw to cut two pieces of 1 x 4 pine at 28 1/2". Apply glue to one side face and both ends of each piece.

Fit one piece under the top board of the box, flat against the back panel, and one piece resting on top of the box's bottom board, against the back panel.
Drill pilot holes and fasten the stretchers with 2" screws through both sides of the box. Use 3/4" screws randomly through the back.
Tip: Stretchers add stability to a fully-loaded bookcase and provide structure for anchoring the unit to the wall if desired.
Depending on what type of screw you're using, pilot holes should be just slightly smaller than the screw.
The idea is to allow the hole to be big enough for the screw to pass through without splitting the wood, but at the same time, small enough so that the threads grip firmly.
Step 8. Cut the Shelves
Measure the width of the box on the inside. Subtract 3/8" from the measurement.
Cut the shelves to this dimension with the Circular Saw, using the remaining pine boards. Test them for fit, using the shelf pegs.
Trim the shelves to length if they fit too tightly.
Tip: According to the plan, the shelf length should be 28 1/8". But because a good fit is important, and because of possible issues with the construction and the type of peg you're using, it's always best to cut them to fit the assembled bookcase.
Step 9. Sand Everything
Sand the box and shelves smoothly using the BLACK+DECKER 5 in. Random Orbit Sander with 100-grit sandpaper.

Step 10. Apply Stain
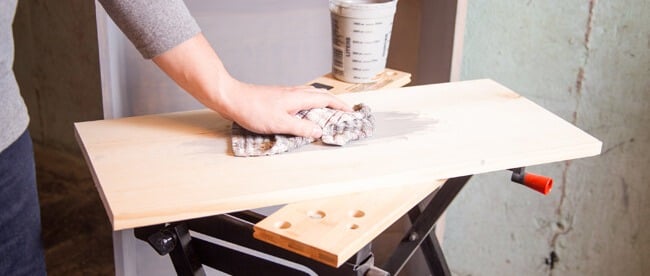
Stain your bookshelf, if desired, by wiping on the stain with a soft cloth. Water-based stains dry evenly, are available in hundreds of colors, and are user-friendly.
Allow the stain to dry as directed.
Tip: Paint is also an option. If you use paint, you don't need to use lacquer.
Step 11. Spray Lacquer
Spray the bookcase inside and out with aerosol lacquer. Spray the top and bottom of the shelves.
Allow the lacquer to dry for 30 minutes.
Step 12. Sand + Finish
Sand everything lightly by hand, with a folded piece of 180-grit sandpaper. Add one more coat of lacquer for a standard finish.
Add one or two more coats for a deeper gloss. Allow the lacquer to dry overnight.
Step 13. Install the Shelves
Place 3/8" shelf pegs in corresponding holes on both sides of the bookcase, spaced vertically according to where you wish to place the shelves.

Slide the shelves in one at a time, and allow them to rest on the pegs.
Step 14. Stabilize Bookcase (optional)
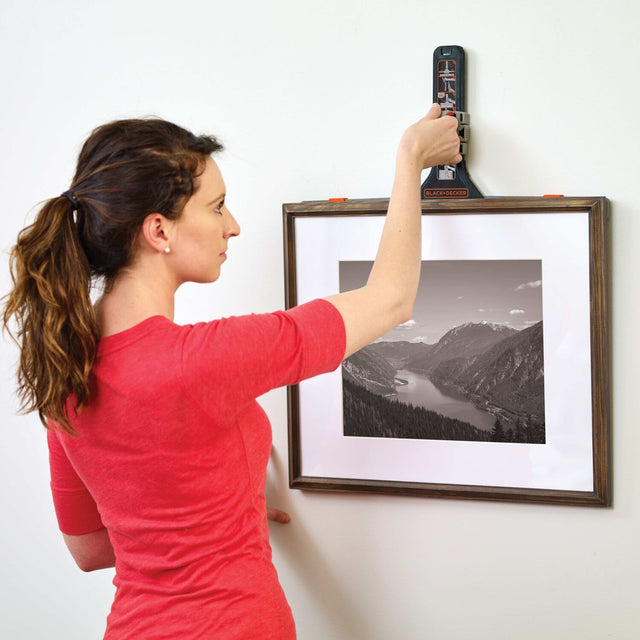
Install the bookcase for more stability if desired. The BLACK+DECKER BullsEye® Auto Leveling Laser with Stud Sensor is a great tool for the job.
Use the Stud Sensor to locate studs in the wall and mark them. Then, use the leveling feature to project a perfectly horizontal line on the wall. Level the bookcase along the wall if needed.
Do this by using the Lithium Drill/Driver to drive four 3" screws, evenly spaced and through the back of the bookcase, to penetrate into wall studs.
