DIY address marker plant box
Skill Level: Beginner | Estimated Time: 6 hours + dry time
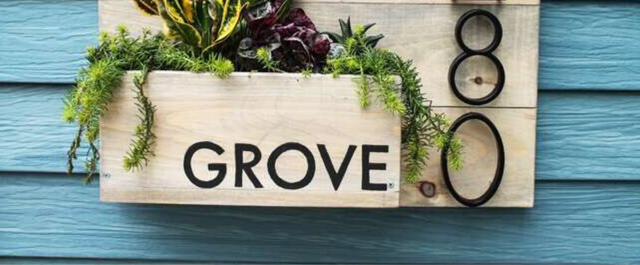
Create instant curb appeal for your home with this modern address marker filled with lush plants.
The 16 1/2” x 23” marker adds eye-catching décor to the wall next to your front door. It’s easy to personalize with any style of font. You can even add a greeting to the planter box.
Things You’ll Need

Step by Step Instructions
Step 1. Cut the Wood Parts
Use the BLACK+DECKER 20V MAX* 5-1/2 in. Circular Saw to cut the following pieces for your address marker:
- (3) pieces of 1 x 6, 23” long for the address plaque
- (2) pieces of 1 x 4,15” long for the address plaque braces
- (2) pieces of 1 x 6, 14” long for the planter front and base
- (2) pieces of 1 x 7, 4 3/4” long for the planter sides

Step 2. Assemble the Address Plaque
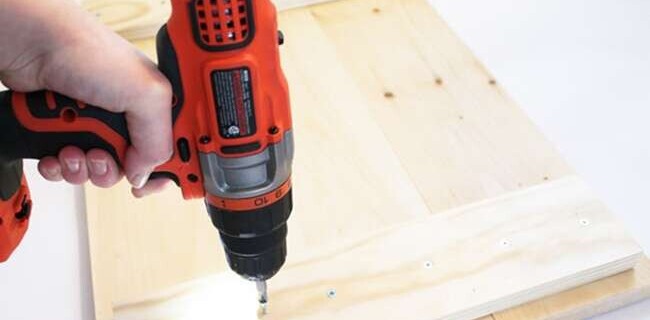
Line up the three 23” pieces of 1 x 6 horizontally with all edges flush. Place the two 15” pieces of 1 x 4 vertically on each side, about 3/4” from the ends of the 1 x 6’s. Drive two 1 1/4” screws through the 1 x 4’s and into each 1 x 6 using the BLACK+DECKER 20V MAX* Lithium 2-Speed Drill/Driver.
Step 3. Construct the Planter Box
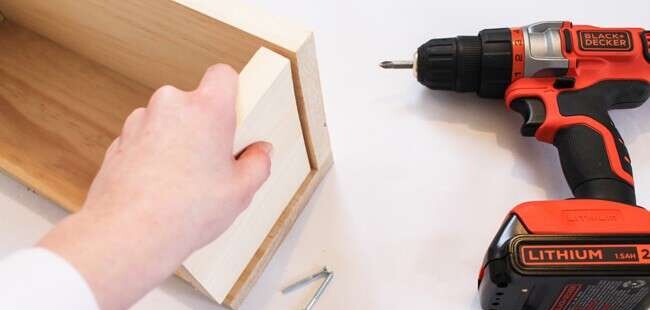
Place one 14” piece of 1 x 6 on its edge, and set the other 14” 1 x 6 flat onto the first, to form a right angle. Ensure edges are flush, and join the pieces with three 1 1/2” wood screws in each corner and one in the middle. Place the assembly flat on the work surface with the 5 1/2” width facing down. Attach two 4 3/4” pieces standing on-edge to each end of the box and secure each with four 1 1/2” wood screws.
Tip: To prevent your wood from splitting at the edges when driving in screws, drill pilot holes at all your connections with a 7/64” drill bit.
Step 4. Drill Drainage Holes
Use a 1/4” drill bit and the 20V MAX* Lithium 2-Speed Drill/Driver to bore six holes in the bottom of the planter to allow adequate drainage for your plants.
Step 5. Attach the Planter Box
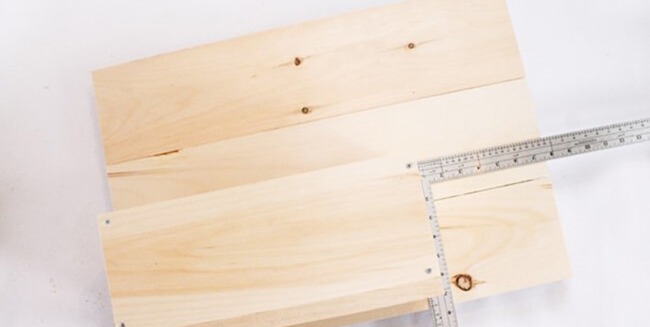
Place the planter with its open backside against the front face of the marker plaque, 1 1/2” from the bottom corner edges. Determine whether you want your planter oriented to the right or to the left side of the plaque. Use a carpenter's square to measure the vertical and horizontal placement of the planter's outside edges on the plaque. Clamp the planter to the plaque to keep it in place.
Transfer the vertical and horizontal measurements of the box to the back of the plaque by penciling in guidelines, using your carpenter's square to indicate the edges of the planter. Drive five 2” screws through the back of the plaque and into the edges of the planter, one in each corner and one along the bottom center.
Step 6. Sand it Smooth
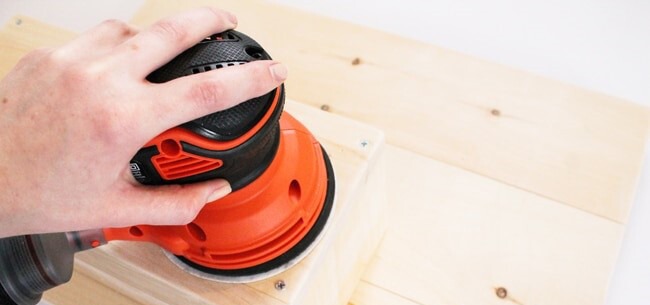
Sand down uneven surfaces and edges with 80-grit sandpaper on the BLACK+DECKER 5 in. Random Orbit Sander. Switch to 120-grit for final sanding before applying stain.
Step 7. Apply Stain
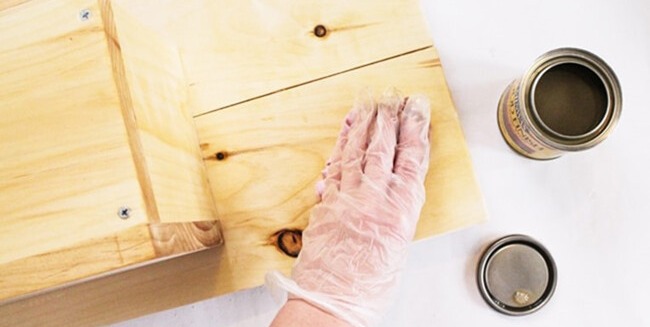
Apply a coat of stain to the entire unit with a paintbrush and wipe off any excess with a paint rag. Let the stain dry as directed. Apply several thin coats of exterior clear varnish to protect the stained wood from the elements.
Be sure to thoroughly seal the inside of the planter box, as this area will be exposed to constant moisture from the plants.
Step 8. Paint Your Street Name
Add your street name or a greeting to the address marker by tracing or freehand writing the letters onto the planter box. Use a similar paint color to your address numbers. You can create a quick transfer by printing out your street name in a 200-point font.
Trace the letters onto the wood with a sharp pencil to leave an etched line, and then paint inside the lines. After the paint dries completely, seal the painted area with another coat of exterior varnish.
Step 9. Mount the Address Numbers
Decide how you want to orient your address numbers (horizontally or vertically), and mark with a pencil to indicate where to drill holes for the mounting hardware. Follow the manufacturer’s instructions for proper installation.
Tip: Some number kits include a handy template to mark holes for mounting.

Step 10. Plant + Hang
Fill the bottom of the planter box with a few handfuls of gravel for drainage before adding soil and outdoor plants suited to your climate. Hang the finished address marker near your front door, using appropriate hardware for your siding material.


